


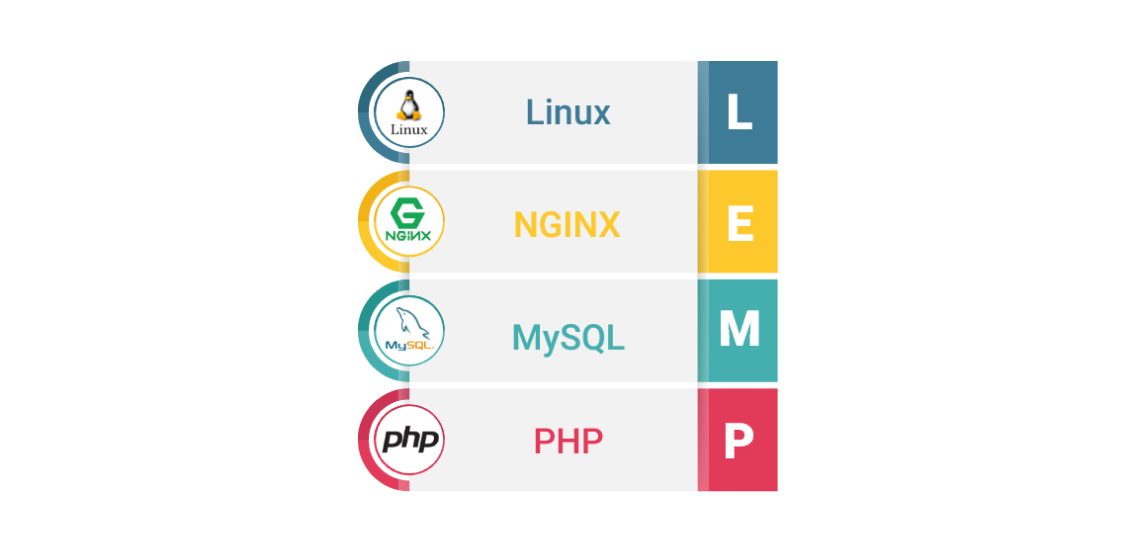
LEMP stack is combination of Linux, Apache, MySQL and PHP which can be used to serve web applications. The individual components of this stack are:
- Linux
- Nginx
- MySQL
- PHP
Requirements for installing LEMP stack
The OS should be Ubuntu, which also satisfy the first technology of the LEMP stack that is Linux. If not, then go here Ubuntu to download and install it. To successfully complete all the steps mentioned here, you should have a account on the machine with sudo privileges.
Step 1: Install Nginx Web Server(‘E’ in LEMP)
In LEMP, ‘E’ symbolizes the ‘Nginx’ webserver.To install the Nginx web server follow these steps:
$ sudo apt-get update
$ sudo apt-get install nginx
Once the above step is completed open your browser and try to access http://localhost if you are installing on your local machine. If you are setting it up on a server then try to access http://YOUR_SERVER_DOMAIN_NAME_OR_IP_ADDRESS. In both the cases it should take you to the nginx default page.
Note: If you are running ufw firewall on the server, you have to allow connections to the Nginx.
$ sudo ufw allow 'Nginx HTTP'
Step 2: Install MySQL database (‘M’ in LEMP)
After installing the web server, next comes installing the MySQL database management system, which is denoted by letter ‘M’ in the LEMP stack. MySQL will be used for saving and managing the data for the applications running on the machine. It can be installed using this command:
$ sudo apt-get install mysql-server
During the installation, it will ask to setup the administrative password, you are suggested to provide a random and strong password. Once all the set-up is done, you might think that all is done, but it is strongly advised to make it more secure. So issue this command on your terminal:
$ mysql_secure_installation
Follow the steps that are then displayed on your screen to make your MySQL installation more secure.
Step 3: Install PHP (P in LEMP)
Once we are done with installing the Nginx web server and MySQL database, next comes installation of the PHP, which is symbolized by letter ‘P’ in the acronym LEMP. It can be installed using this command:
$ sudo apt-get install php-fpm php-mysql
Here we are installing php-fpm because in Nginx there is no built in support for php. Once the installation is complete, then open the php.ini file using this command:
$ sudo vim /etc/php/7.0/fpm/php.ini
Search for the line
;cgi.fix_pathinfo=1
and change it to
cgi.fix_pathinfo=0
Once you have made the above change, save it and restart the php-fpm
$ sudo systemctl restart php7.0-fpm
Note: On my system php7.0 is installed, so I am using it. You can use the PHP version as per your system installation.
Once all the steps are done then now it is time to configure the Nginx to use the PHP. To do this open the Nginx configuration file using this command:
$ sudo vim /etc/nginx/sites-available/default
And set the values like this:
server {
    listen 80 default_server;
    listen [::]:80 default_server;

    root /var/www/html;
    index index.php index.html index.htm index.nginx-debian.html;

    server_name DOMAIN_NAME_OR_IP_ADDRESS;

    location / {
        try_files $uri $uri/ =404;
    }

    location ~ \.php$ {
        include snippets/fastcgi-php.conf;
        fastcgi_pass unix:/run/php/php7.0-fpm.sock;
    }

    location ~ /\.ht {
        deny all;
    }
}
Once it is done save the changes and close the file, and run this command to check if the syntax of the config file is correct:
$ sudo nginx -t
Check your file and fix the issues if it displays any error. Once it gives you a success message, run this command:
$ sudo systemctl reload nginx
This will load the configuration changes you did in previous step.